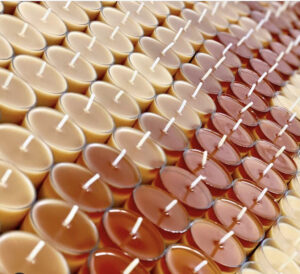
How to make tea light candles: Tealight candles are the perfect candles for any occasion! They are also great candles to create for beginner candle makers to slowly step out of their candle-making comfort zone. Tealight candles are easy to create, and take well to fragrances as well as dyes.
Check out our previous blog “The Basic Supplies For Making Tealight Candles” to learn about what exact products you will need for this project.
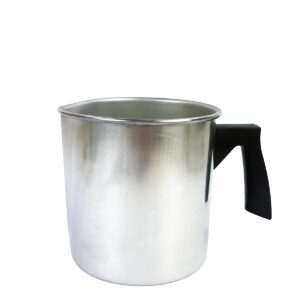
Step 1: Weigh and Melt Wax
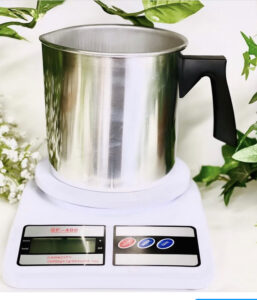
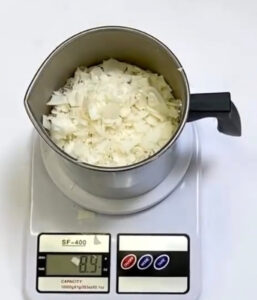
To begin, place your Melting pot on your scale then tare the weight of the melting pot. By doing so you will eliminate the weight of the pot, this is important because once you weigh out your wax you will only want the weight of your wax. Then weigh 1Ib of wax (100% Soy Wax or Soy and Paraffin blended wax) using a double boiler or hot plate heat your wax to approximately 185F if on stove top keep heat on low.
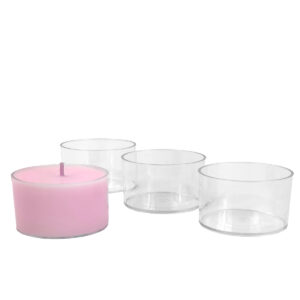
Step 2: Prep Your Candle tealight cups
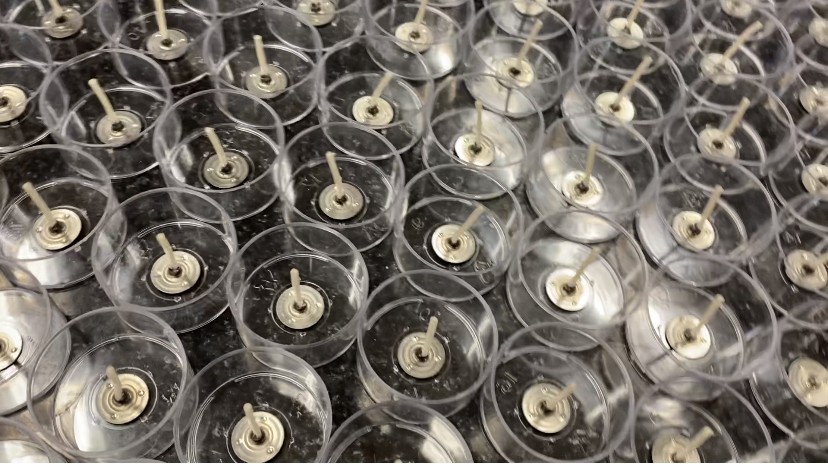
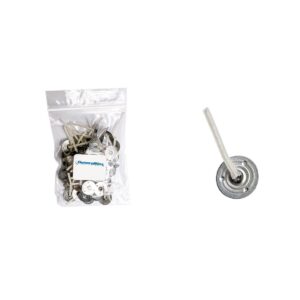
While your wax is melting, prepare your tealight cups; attach a glue dot to the bottom of your pre-tabbed wicks. Place a wick in the center of each of your tealight cups.
Step 3: Add Dye and Stir
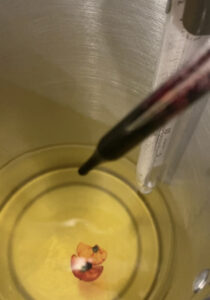
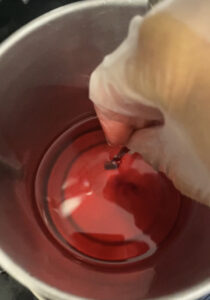
Once your wax is fully melted add 1 to 2 drops of liquid dye of your choice, if you are using dye blocks/chips use only ¼ - ½ of a dye block and 1 chip per pound of wax being used. Then begin to gently stir your dye into your wax until your dye is fully blended into your wax.
Step 4: Add fragrance oil and Stir
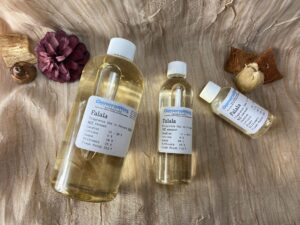
Remove wax from the double boiler then add the fragrance oil of your choice. Add 1oz per pound of wax you are using and stir gently.
Step 5: Pour you wax into tealight cups
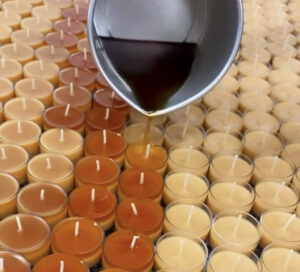
The final step to crafting your tealight candles is to pour. Once your wax has cooled to at least 135F it is safe to pour your wax into your tealight cups. Pour carefully and slowly making sure that your wicks are sticking straight up through the middle. After pouring, give your candles at least 24hrs to set.
Cut prep time in half with our large pre-tabbed tealight wicks. They’re ideal for use with plastic or aluminum tea light cups. A wax coated wick makes candle lighting simple.
Each large pre-tabbed tealight wicks pack contains 50 cotton core waxed tea light wicks cut in 1″ lengths. Our 12-pack case contains a total of 600 wicks.
Ideal for use in tea light candle formulas using paraffin wax containing wax additives like Vybar, dye and fragrance.
wax additives – 1% to 3%
dye – dark shades
fragrance – 6% and over
Cotton Core Wick is made for various candle systems such as votive candles, pillars and containers. Cotton Core Wick produces a robust flame and can help reduce carbon build-up throughout the burn cycle. These wicks provide increased rigidity in the molten wax pool.
Note: When dye and fragrance is added to a formula, more energy is necessary to consume the matter and a larger wick may be justified. As always, test small amounts.
Our clear maxi plastic tealight cups are made with polycarbonate. These cups have a V-0 rating and will not exceed 30 seconds of sustained burn time when exposed to flame.
For those who want a beautiful look with their tealight candles, our clear plastic tealight cups are the best choice. Tealight wicks are sold separately. View our wick guide to find a wick recommendation for your tealight candles. They also have a marking on the bottom which helps with centering the wick.
Makes a perfect tealight cup for making scented or unscented tealights. Available in a bag of 100 cups (1LB).
Our tealight cups are available in wholesale quantities. Whether you’re a candle hobbyist or a professional candle maker, you can find the right tealight cup for your next candle-making project here.
This small wax melting pot is a must-have for DIY candles. Fits perfectly with our steamer pot for melting wax by double boiling. This method helps to prevent the wax from reaching dangerously high temperatures. Holds up to about 2 pounds of melted wax.
The body of this melting pot is a thick aluminum cup. It is easy to clean and it is fast to conduct heat. The opening handle is anti-scald. It is safe for you. The mouth is designed as an eagle diversion mouth for an easy pour. With this melting pot, it won’t take long to get the wax melted. Just put your wax in the pot, heat it, and that’s it. Once that’s done, grab the handle and pour as needed. You’ll find that the handle and exterior of the pot stay close to the temperature of the room you’re working in.
The inside traps the heat inside well and doesn’t allow the wax to stick to the surface when you’re ready to wash it out. Excellent heat conductivity helps the wax to cool down really quickly. Nonstick and easy to wash with soap and water.
For more candle making information, please visit our candle making instructions page.
Leave a Reply