
www.GeneralWax.com
The Candle Superstore
The Candle Superstore
Making your own candles can seem like a difficult and confusing process to new candle makers. Often times new candle makers will struggle with where to begin their journey in candle making. Well, a very fun and easy way to begin your career in candle making can start with tapered candles. Taper candles are fun and easy to make for new beginners, and they look great as well!

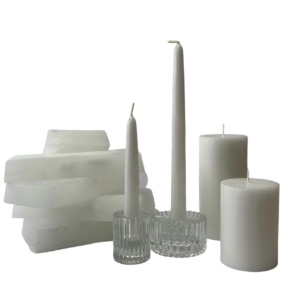
Taper candles are tall, thin candles that can stand on it’s or own, or could be placed in holders. Taper candles can vary based on their size, diameter, and color. The burn time at which a taper can burn depends on the candle wax you use to make the taper and the wick that holds the taper. Height also plays a huge factor in the time at which a taper can burn.

A reason why a taper candle can be very easy to make is the fact that only a few pieces of equipment are needed to create them. The items needed to create a taper include wax, wicks, and a melting pot to melt your wax. I would also recommend a mason jar in order to support the taper.

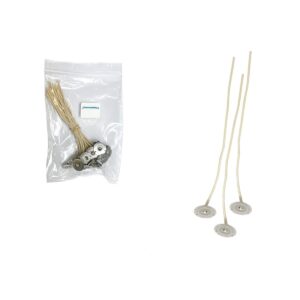
To start the process of making a taper, you must first melt your wax in a melting pot. We recommend boiling a pot of water to rest your wax over in order to keep it from drying. Once your wax is melted down to the recommended temperature of 165 F, you can begin the dipping process. Before dipping your wicks into the wax, make sure they are trimmed down to your desired size.
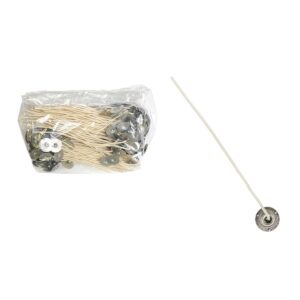
Make sure to always add an extra 2 cm to your desired length in order to have a better melt. Once the wicks have been trimmed, you may begin dipping them into the hot wax. Keep the wicks submerged until you see air bubbles appear, once the air bubbles are completely gone you may then remove the wicks from the wax. Leave the freshly dipped wick in a warmed jar in order to keep them straightened and to avoid the wax drying completely. Once you have coated all of your wicks, place the remaining wax over the pot with boiled water in order to keep it warm enough to coat the wicks once again.
Once your wicks have cooled, re-dip them into the remaining wax to cover them in another coat of wax. Hang the wicks on a drying rack to allow them to cool and dry. Repeat this process until you have reached your desired size. Make sure you leave enough room for the wick to burn thoroughly. Once all is said and done, you will have beautiful tapers for yourself or others you may want to share them with.
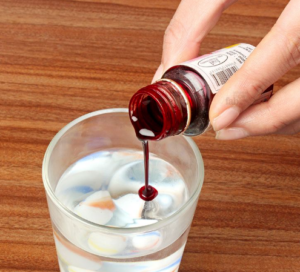
To make your tapers more visually appealing we would recommend adding color to your final result. In order to add color, you must add candle dye to your wax as the wax is melting. We have step-by-step instructions on how to your dye your wax on our page, but in a simple explanation, you may use dye blocks or liquid dye to color your wax. For the dye blocks, use shavings sparingly in order to get the desired shade of color you would like. As for the dye, you may use one drop for every 5 lbs. of wax. Add both while the wax is at 185 F to get the best results.
Leave a Reply
You must be logged in to post a comment.